I
install Android 4.0 Using VirtualBox on Windows, Mac or Linux [How-To]
Here is a complete procedure to Install Android OS on PC or laptop. Its very common that almost all smartphones providers are now moving to android platform. This is because it has endless features, supports many applications and there are hundreds of new free and paid apps entering into the market everyday. Android OS is getting popular day by day. This being on one side, here is a short tutorial on how to install Android OS on your PC or Laptop.
Preparing VirtualBox :
VirtualBox is a powerful x86 and AMD64/Intel64 virtualization product for enterprise as well as home use. Not only is VirtualBox an extremely feature rich, high performance product for enterprise customers, it is also the only professional solution that is freely available as Open Source Software under the terms of the GNU General Public License (GPL) version 2. See “About VirtualBox” for an introduction.
Presently, VirtualBox runs on Windows, Linux, Macintosh, and Solaris hosts and supports a large number of guest operating systems including but not limited to Windows (NT 4.0, 2000, XP, Server 2003, Vista, Windows 7), DOS/Windows 3.x, Linux (2.4 and 2.6), Solaris and OpenSolaris, OS/2, and OpenBSD.
You can download the setup file supported from the link. VirtualBox Download.
Preparing Android ISO File
Various Android ISO files are available over the internet. You can google search it easily. One of the providers I trust is Android-x86.org. Various versions of Android are available at it’s download page. For Android 4.0, scroll down the page to “Android-x86-4.0-RC1” and download the file supportive for you operating system. I recommend you to download “android-x86-4.0-RC1-amd_brazos.iso”.
Installation Steps :
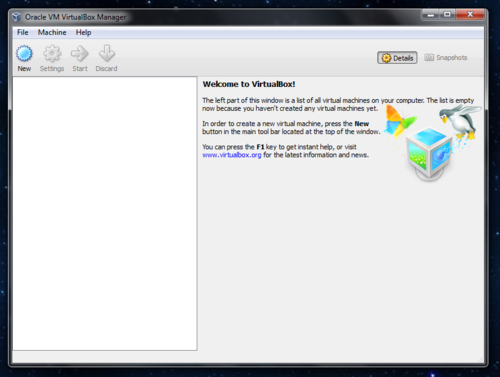
1. After completing the download, install and run VirtualBox. You would see a screen somewhat like this :
2. Click on New button at the top left of the VirtualBox window.
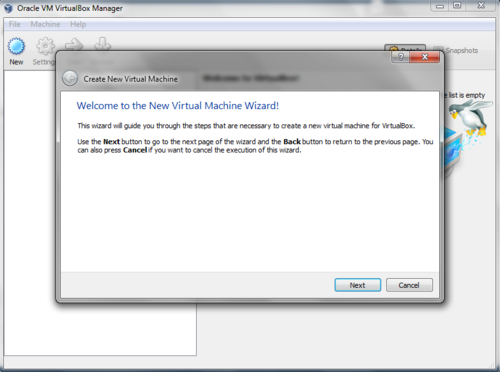
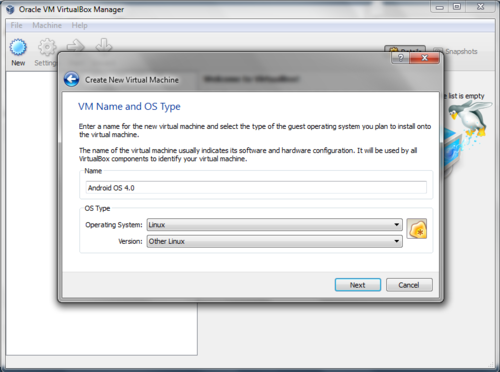
3. Click on Next and write the name as “Android OS 4.0” (You can provide any name, it completely depends on you). Select the Operating System as Linux and version as Other Linux. Then click on next.
4. Then select the memory for your device (RAM). 512MB is sufficient for an Android running on a VirtualBox. Click Next.
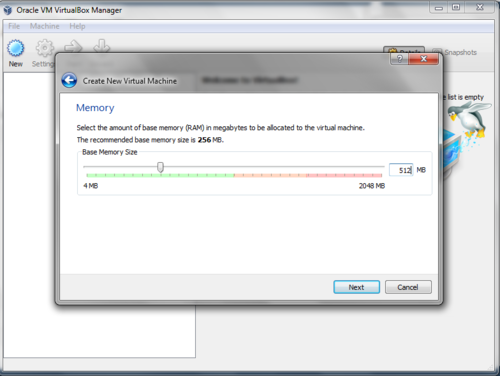
Note : Make sure the RAM you provide is always lesser than your computer or laptop RAM, or hence your device would turn up slow and tend to hang.
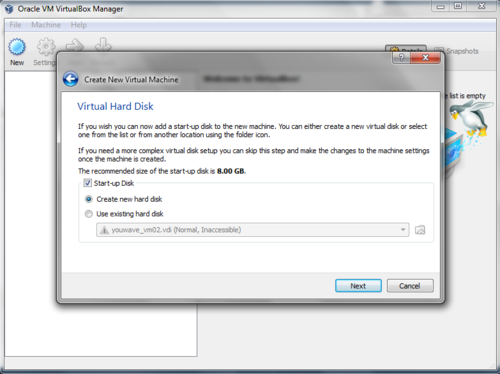
5. After clicking Next the setup will ask you for a start-up hard disk. Select Create new hard disk. And Next.
6. On clicking Next you would see a virtual disk creation wizard. Select VDI(VirtualBox Disk Image) and Next.

7. Select Fixed size and click next, select the size to be 1GB. And proceed. Click on Create.

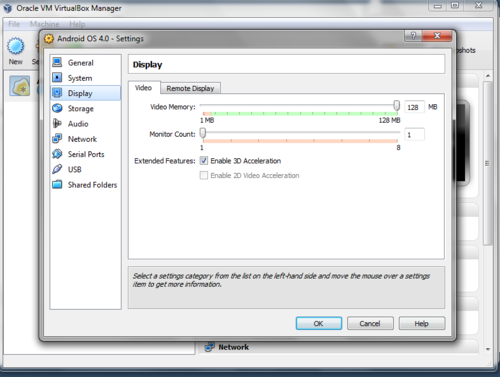
8. On the top left you would find a Settings button. Click on it. Go to Display and select video memory to 128MB. Check Enable 3D Acceleration .
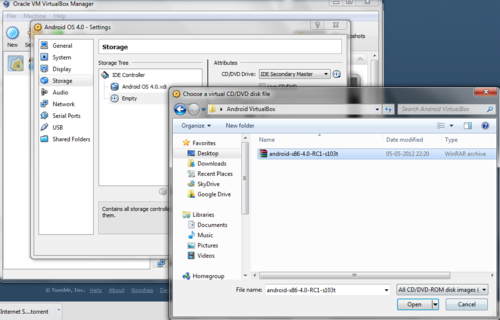
9. Go to Storage and in the storage tree select empty. And select the CD/DVD icon from the Attributes section. Now, select the path of you Android ISO file and select it.
10. No further changes in the Settings, click on OK.

11. Now click on the Start button. You would see a window somewhat like this.
You can run Android without installing it on your Virtual Hard Disk by pressing enter on to the first option.
NOTE : This would not save any setting on the Android.
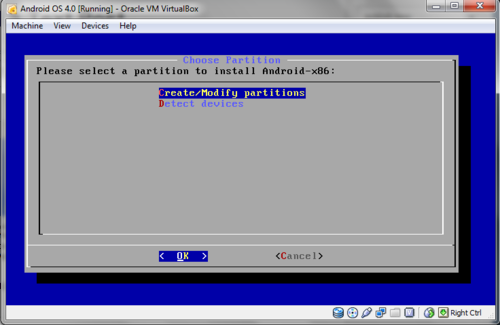
12. To Install, select the last option and press enter. Select Create/Modify Partition.
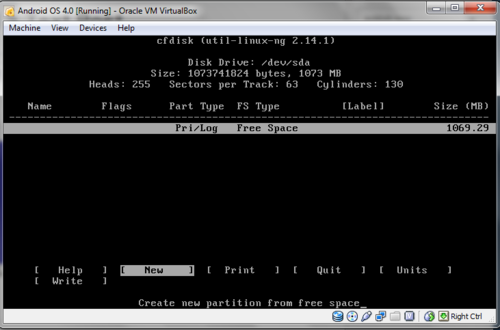
13. Select the [New], to create a new partition.
14. Select the drive to be [Primary] and press enter. Don’t make any changes to the Size, just press enter. Click on [Bootable] and then [Write]. The setup would ask you to confirm your write. Type “Yes” and proceed.
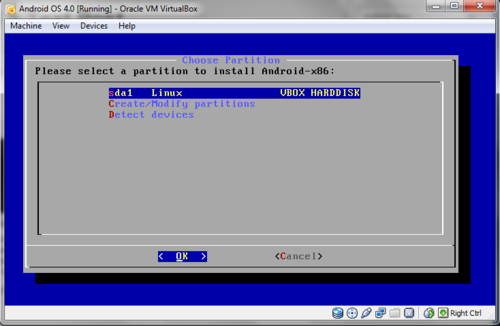
15. Now select [Quit].
16. You would now find your drive. Select it and press enter.
17. Format it with ext3, then proceed. Select [Yes]. When setup ask for confirmation to install GRUB boot loader, select [Yes]. Next select [Yes] when it asks to install system directory as read-write.

18. Congratulations! You have installed Android OS on a virtual drive. Create a Fake SD card, if you want one.
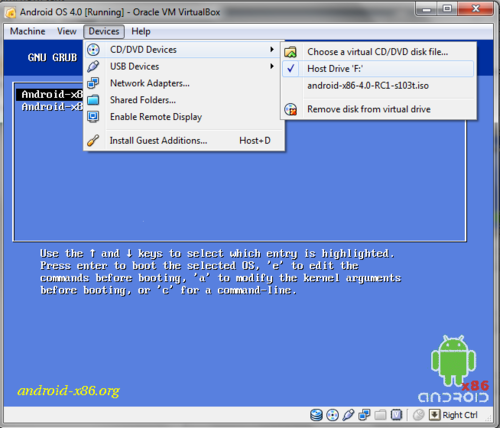
19. Before you start enjoying the fun, a main step has to go. Reboot your device. Just before it get started, go to the devices menu on the top, select CD/DVD devices. Your ISO file will be the one selected there, choose the other option that is Host Drive ‘F’. Now Start the virtual machine.
20. After this go and run Android. You are done!